Embroidery and fancy work · 8 October 2026 · 4 min read
Puckered embroidery: can it be fixed?
How to fix puckered embroidery: which ripples steam and pressing from the back can ease, which are there to stay, and how to avoid them on your next outfit.
 Inspiration
Sometimes, depending on what caused it
Puckered embroidery can often be eased, but not always cured. Ripples caused by shrinkage in the wash or by creasing usually relax with steam and careful pressing from the back. Puckers that were stitched in, because the thread was pulled too tight or the work is too heavy for the cloth, are part of the garment and will come back however often you press them.
So the first job is not the iron but working out which kind of pucker you have.
Read the pucker before you treat it
Lay the piece flat on a table in good light and look along the fabric rather than straight down at it. The pattern of the ripples tells you a lot.
- Appeared after washing, garment was flat before: the fabric and the thread shrank by different amounts. This is the most hopeful case.
- Small gathers right at the edge of every motif, there from new: the stitches were pulled tight or the cloth was not supported while it was worked. Usually permanent.
- A stiff block of work with the fabric bubbling around it: the embroidery is denser than the base can carry. Pressing flattens it for a day at most.
- A wavy embroidered border at the hem or dupatta edge: the band of work is firmer and shorter than the fabric beside it, so the edge flutters. Easing helps a little; the length difference stays.
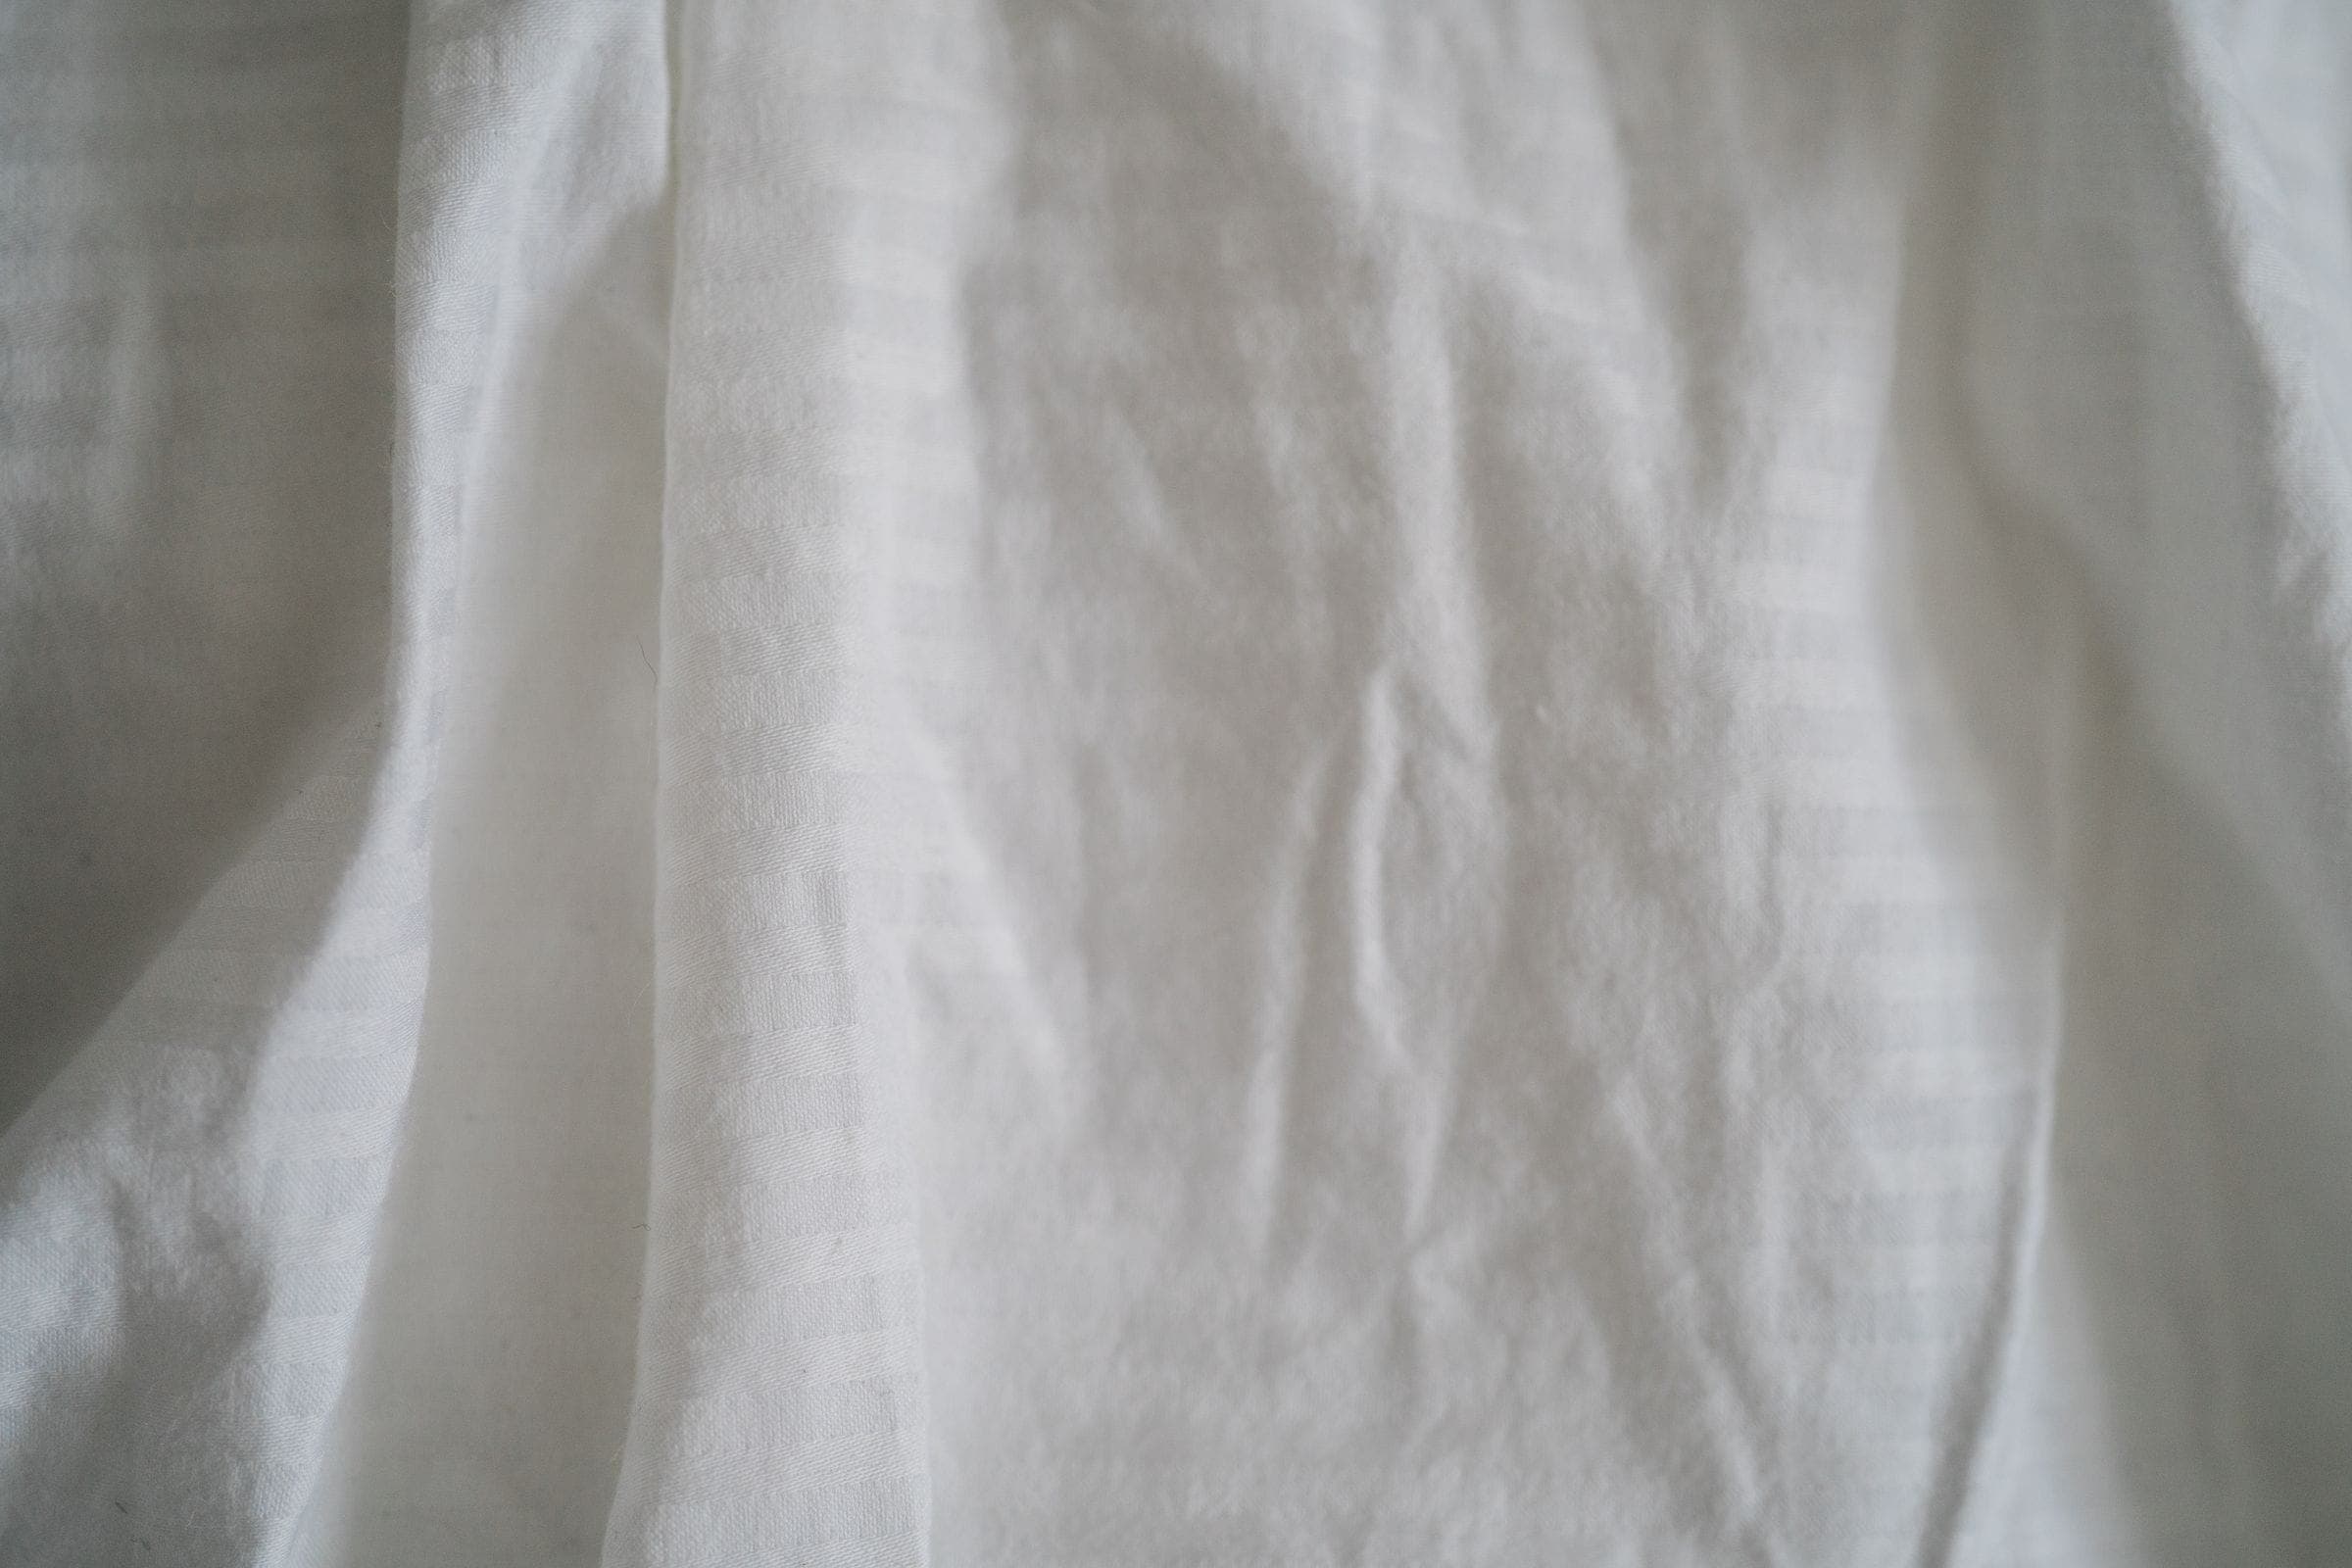
- Crinkles that move when you smooth them: creases from storage or packing, not true puckers. These come out easily.
What you can try at home
Check the care label first and test any heat or steam on a hidden area, such as the inside of a hem. Metallic threads, sequins and synthetic fabrics can mark or melt, so keep the iron away from them entirely. Then work like this:
- Fold a thick towel into a pad and lay the embroidery face down on it, so the raised stitches sink in instead of being crushed flat.
- Cover the back with a thin pressing cloth and steam it, holding the iron just above or pressing lightly. Lift and lower; never slide the iron across the work.
- While the fabric is warm and damp, ease it gently with your fingers away from the motif, smoothing the ripples outwards. Do not tug hard enough to pull stitches.
- Leave it flat until it is completely cool and dry. Fabric set in shape while it cools holds that shape better.
- For wash shrinkage over a whole panel, dampen the panel evenly, ease it back to shape on a flat surface and let it dry there, then press from the back.
When to stop
If the ripples spring back within a wear or two, you have a stitched-in pucker, and more heat only risks scorching or shine. Many of these are far less noticeable on the body than on a table, because the fabric hangs and moves. Unpicking and restitching a motif is a skilled repair job, and on fine fabric it can leave needle holes, so weigh that before trying it.
Our care guide for embroidered clothes covers storing and pressing finished pieces so that creases do not turn into marks.
Avoiding puckers on a new order
Prevention happens before a single stitch. The guide to judging embroidery quality names the causes; these are the choices that head them off.
- Match density to fabric. Fine lawn or chiffon suits lighter work; firm cotton, khaddar or karandi carry more. Our guide to embroidery levels helps you pick.
- Pre-wash fabric that may shrink. Cotton and linen can tighten in the first wash. The article on pre-washing before stitching explains when it matters.
- Say how you will wash it. If the outfit will go in a machine every week, mention it so the work can be planned for that.
- Keep heavy work off thin areas. A border on a soft dupatta edge is more likely to wave than one on a kameez hem with a facing behind it.
Planning embroidery with us
We add embroidery to outfits we stitch and work on a customer’s own fabric or garment through our custom embroidery service. Tell us the fabric, how dense you want the work and how you plan to clean it, and attach a photo of the look. We confirm what is possible on your fabric and design in the written quote before anything is cut. You can start a design quote here.
Common questions
Why did my embroidery only pucker after the first wash?
Usually the fabric shrank and the thread did not, or the reverse. Cotton and linen bases often tighten slightly in their first wash. Steaming from the back and easing the fabric while it is damp often reduces this kind of pucker.
Can I press puckered embroidery from the front?
It is better not to. Pressing the front flattens raised stitches, can leave a shine on the fabric and may damage metallic thread or sequins. Work from the back on a padded towel with a pressing cloth.
Will dry cleaning remove puckers?
Professional pressing can make the garment look smoother, but it does not change stitches that were pulled too tight or work that is too heavy for the cloth. Those puckers return once the garment is worn and washed.
More guides
- Choosing embroidery placement for a suit, piece by piece
- Embroidery on organza: crisp, sheer and delicate
- What is jaal embroidery? All-over patterns explained
- Types of lace for suits: names, looks and uses
- Embroidered trouser hems: what a paincha can carry
- What is kantha embroidery? Running stitch explained